In the previous post, we began building the basic infrastructure to use MS Flow to generate our Project Status report directly from Project Online.
In this post we will see how to build the flow itself. Your completed Flow will look like this.

- To begin, from your App Launcher, select Flow, and select New from Blank
- Add your 1st step as “When a Project is published” trigger, and specify the PWA URL.

As your second step, add the action Send an HTTP request to SharePoint. We will use this to read the Project Online Data using OData query. Name the action to something easy to work with like GetProjectData. This is important, as you will use this action name later in another action.
Structure your action as shown below.

Note the use of dynamic variable Returned Projects Project ID . This allows us to keep the flow generic.
Note: Technically, you should also be able to use the List Project action, in place of the Send HTTP request to SharePoint, but I have not been able to get it to work in a similar fashion.
The next step is to read the output of the HTTP request to SharePoint action into variables so that we can use them in next steps.
So, insert an action Initialize Variable. This variable would be set to the custom field we want extract out of the OData query form previous action.
For example, if we want to get the value of a custom field in Project Online called Location, the syntax would be
body('GetProjectData')?['d']?['Location']
So, for our example, you would extract three fields ProblemDescription,ProjectStatusUpdate,SubmitProjectStatus. These fields already exist in Project Online.

The next step is to add a condition, to see if the Submit Project Status Flag is checked or not.

If the flag is NO, then obvioulsy we are not going to do anything. If the Flag is yes, we will generate the status report.

For the first action under Yes, select Get File Content and set it up as shown.

For the second step, we create the document . Choose Create File and set it up as shown. The function UTCNOW() allows appending the date and time to the name of the document so that we do not call everything the same.

And finally, we will update the properties of the document using the information collected in previous steps.

That’s it. Save and publish your flow and we are ready to rock and roll.
Next time you publish your project, make sure you check the flag Submit Project Status.

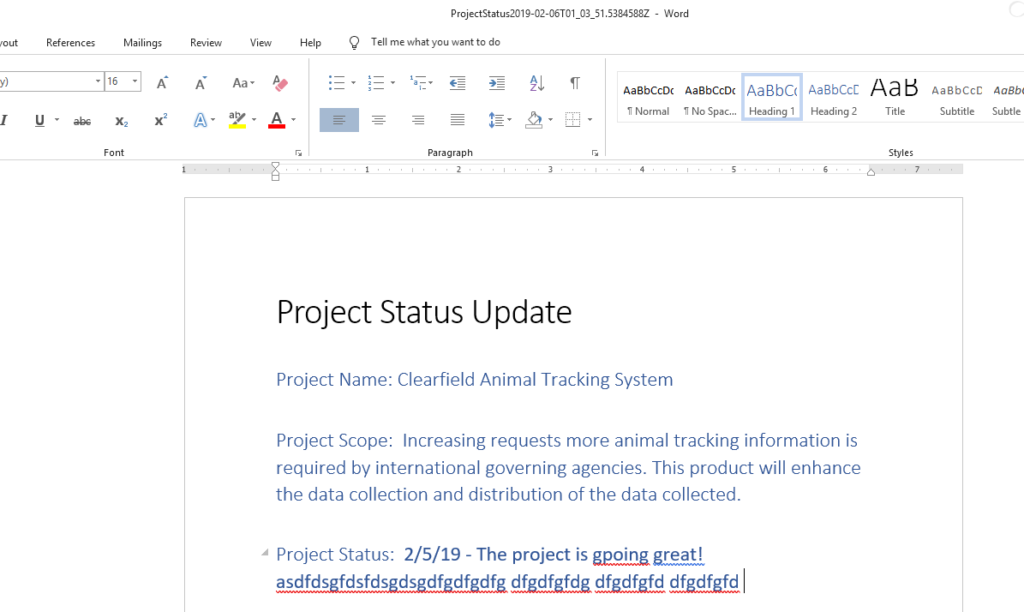
This should result in a document that follows the template you set up for Project Status.

Leave a Reply