Step 3: Set up a Departments Column in BI Center
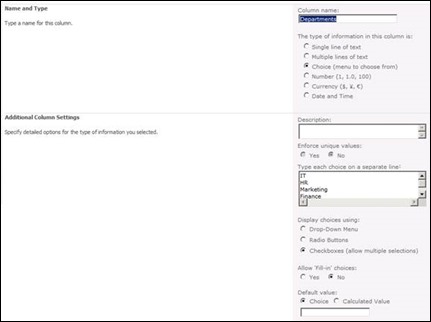
Starting where we left off, our next step is to create a column in the library where all the reports are located, so that we can tag them with the departments. Make sure that the nomenclature for departments exactly matches with the Departments Lookup table in PWA.
Now go ahead and tag all your reports with one or more departmental values, to arrive at something like below.
Step 4 Add the required web parts and set up connections
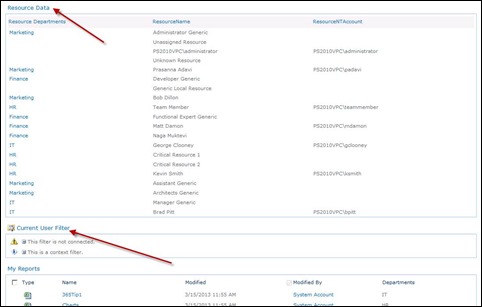
The next step is to add the External List and the Current User Filter web parts to the page.
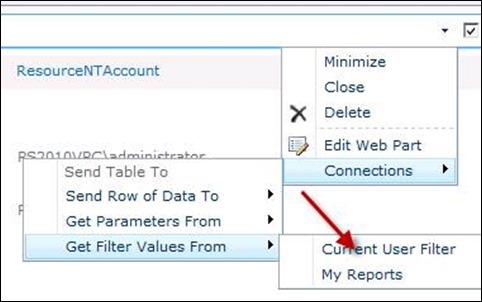
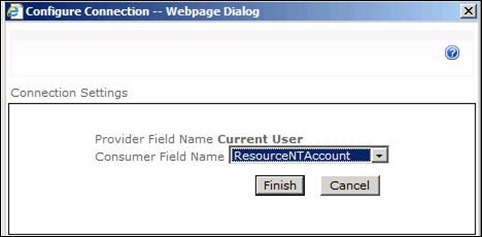
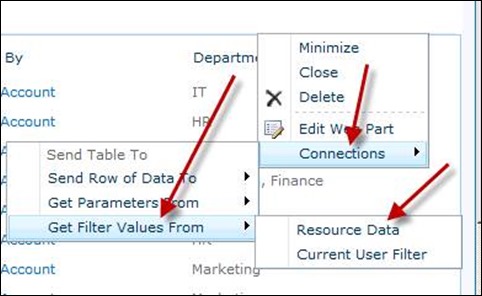
Now set up the connection between the External List and the Current User Filter, using the Resource Name column.
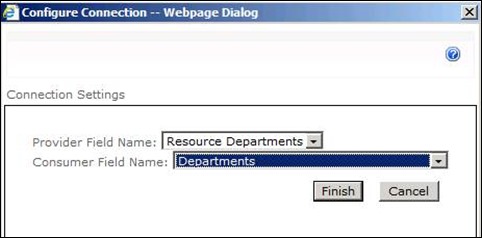
Now set up the connection between the External List and the Reports List using the “Departments” column.
Click Finish, and you are done! The page will automatically start filtering by the department of the user that is currently logged in.
As you can see below, the user belongs to the IT department, and the reports shown to him are only IT department reports.
As in Project Server Departments, this is meant to control visibility and may not solve your security needs.
To enhance this further, you could choose to hide the External List web part, and the Departments column, so that it looks a lot more cleaner.




Leave a Reply